Reinforcement learning with Ray 2.x on Amazon SageMaker
In this blog post, we’ll take at look at running reinforcement learning (RL) tasks in AWS with the Ray framework, while taking advantage of SageMaker’s capabilities.
Ray describes itself as “an open-source unified compute framework that makes it easy to scale AI and Python workloads — from reinforcement learning to deep learning to tuning, and model serving.”
SageMaker introduced support for Ray back in 2019. However the latest supported version when writing this blog post is Ray 1.6.0 while Ray 2.9.x has already been released (and 3.x is in the works).
While Ray 1.6.0 could still be an option for some use cases, Ray 2.x came with a major update: multi-agent environments with multiple policies. Prior to Ray 2.x multi agent envs had the constraint that all agents had to be trained with the same policy. This means for any Task where you want your agents to have independent observation spaces, action spaces or policies, Ray 2.x is the way to go. As one could expect, Ray 2.x didn’t only bring new features but also a lot of breaking changes, which is why we can’t simply use code designed for older versions. More info about it can be found on the Project release page.
Let’s get started with some code!
Training setup
To start our training we need the following items:
- A training container image: As we aren’t happy with the deprecated Ray 1.6.0 container image, we will use a SageMaker tensorflow image for our training. We gather the image URI with the following snippet:
from sagemaker import image_uris instance_type = "ml.m5.large" image_uri = image_uris.retrieve( framework="tensorflow", region="eu-central-1", version="2.13", py_version="py310", image_scope="training", instance_type=instance_type, ) - The Ray framework: We will provide a requirements file containing the ray framework and other dependencies needed. Ray needs either tensorflow or torch to work. As we are using a tensorflow container image it is not necessary to add tensorflow as a requirement.
gymnasium==0.28.1 ray[train]==2.9.* ray[rllib]==2.9.* ray[tune]==2.9.* - Metric definitions: To visualize our training metrics in SageMaker metrics dashboards, we need to define the corresponding metric definitions. We will use the following one to track both average and max episode rewards:
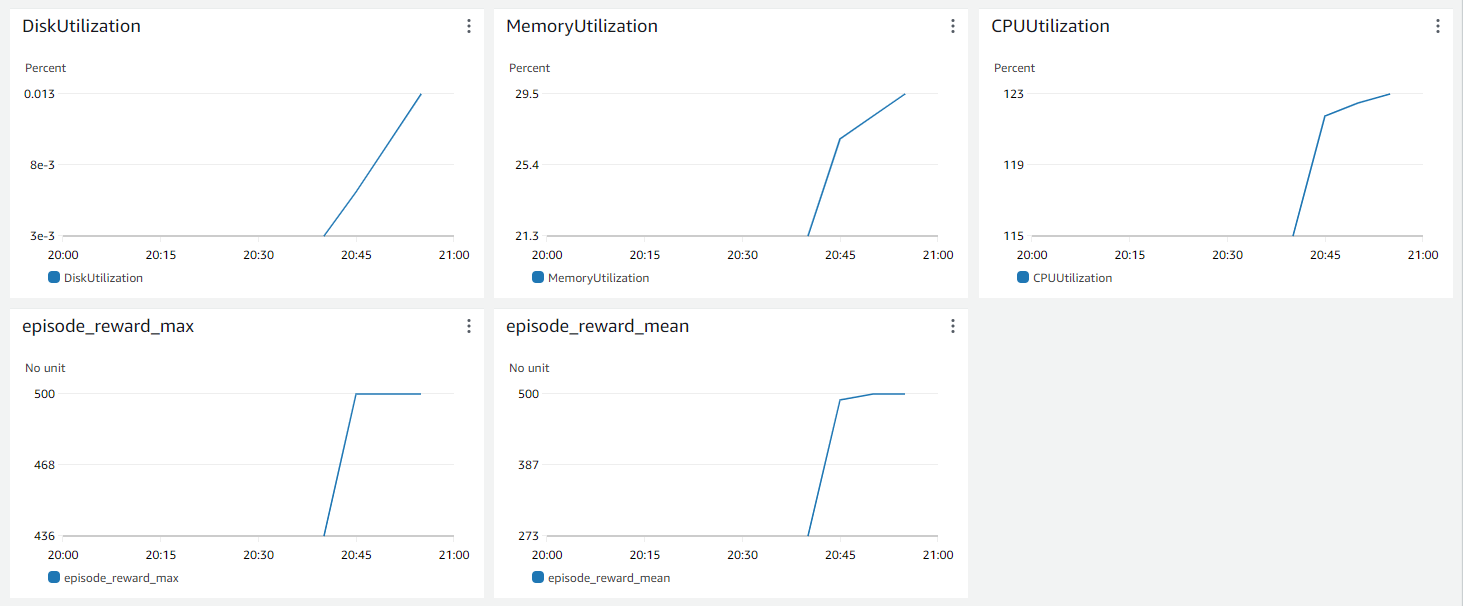
float_regex = "[-+]?[0-9]*[.]?[0-9]+([eE][-+]?[0-9]+)?" metric_definitions = [ {"Name": "episode_reward_mean", "Regex": r"episode_reward_mean\s*(%s)" % float_regex}, {"Name": "episode_reward_max", "Regex": r"episode_reward_max\s*(%s)" % float_regex}, ] - A main snippet to start the training job: The role can be created following instructions at SageMaker roles.
from sagemaker.estimator import Estimator as RLEstimator role="<SOME_SAGEMAKER_EXECUTION_ROLE_CREATED_IN_THE_AWS_ACCOUNT>" estimator = RLEstimator( entry_point="train-rl-cartpole-ray.py", source_dir="src", image_uri=image_uri, role=role, debugger_hook_config=False, instance_type=instance_type, instance_count=1, base_job_name="rl-cartpole-ray-2x", metric_definitions=metric_definitions, hyperparameters={ # Let's override some hyperparameters "rl.training.config.lr": 0.0001, }, ) estimator.fit(wait=False) - A training script: Once SageMaker spins up a training instance, the training script will start the actual training within the container and export the training artifacts to the location expected by SageMaker.
The training handles the following tasks:
-
Registration of the (custom) RL environment
import gymnasium as gym def create_environment(env_config): return gym.make(ENV_NAME) ... def register_env_creator(self): """Register the (custom) env to make it available to the ray nodes""" register_env(ENV_NAME, create_environment) ... -
Definition/Update of the training configuration: The following configuration will stop the training once we reach 300 iterations, unless the policy previously reaches an average reward of 500. The
checkpoint_configmakes sure we save the policy at the end of the training.INTERMEDIATE_DIR = "/opt/ml/output/intermediate" ... def get_experiment_config(self): experiment_config = { "training": { "env": ENV_NAME, "run": "PPO", "stop": {"training_iteration": 300, "episode_reward_mean": 500}, "config": { "framework": "tf2", "num_sgd_iter": 30, "lr": 0.0001, "sgd_minibatch_size": 128, "train_batch_size": 4000, "model": {"free_log_std": True}, "num_workers": (self.num_cpus - 1), "num_gpus": self.num_gpus, "batch_mode": "truncate_episodes", }, "storage_path": INTERMEDIATE_DIR, "checkpoint_config": CheckpointConfig(checkpoint_at_end=True), } } return experiment_config ... -
Run the actual Training and export artifacts: Once we have defined the experiment config, we use it to start the rl training. When completed, we export the trained policy as well as relevant files to the location expected by SageMaker to have them automatically uploaded to S3.
FINAL_MODEL_DIR = os.getenv("SM_MODEL_DIR", "/opt/ml/model")
...
# Run the training
experiment_results = run_experiments(experiment_config, verbose=3)

latest_trial = experiment_results[-1]

# Export the checkpoint to the sagemaker model folder
shutil.copytree(latest_trial.checkpoint.path, FINAL_MODEL_DIR, dirs_exist_ok=True)

# Export experiment metadata to the sagemaker model folder
self.save_experiment_metadata(trial_path=latest_trial.path)
...
-
Et voilà!
The full code is available in the companion repository on Github.
Summary
In this blog post, we explored the integration of Ray, a versatile open-source compute framework, with Amazon SageMaker for reinforcement learning tasks. Ray and SageMaker form a powerful duo for RL experiments, enabling efficient training and seamless integration with cloud infrastructure. The solution presented in this post is tailored for single node workloads. Stay tuned for our exploration of multi-node setups, unlocking even greater RL potential.
— Franck
See also
Title Photo by K. Mitch Hodge on Unsplash