Sound of Silence - Lift your heavy Workloads to AWS Batch with Docker
This content is more than 4 years old and the cloud moves fast so some information may be slightly out of date.
Statistical Computing on Your Local Workstation
Recently, a costumer told me about his problems to fullfil stastistical
computing workloads on his local workstations. At first, you need to
know that statistcal computing language like R and Python by default
only use one core of your multi core machine. To parallize them, you
have a lot of opportunities with regard to CPU-usage, IOPS
etc.
Second, even if you parallize your workloads, you got an annoying loud
machine in your office. Additionally, you might not be able to use the
your workstation for others jobs.
Lift your Workloads in a Dockerized Manner to AWS
To deal with these demands of parallizing his workloads and avoiding incredible load machines, I introduced my customer to AWS Batch. What is AWS Batch? With AWS Batch you can run your heavy workloads within a Docker Container on AWS. Why Docker? Docker enables you to produce a complete indepedent environment which only requires the Docker engine to be installed. Therefore, you need to design a Docker image which is pretty easy and will be shown later on.
Usecase: Compute π in a probalistic way
Presequities
To run this example you need to have an AWS account as well as Docker
and R up and running. If you run this example within your
AWS account, you will get charged for using those resources.
Additionally, we will use the AWS
CLI.
A Little Hands off
There are several ways to approximate π. We use the Monte Carlo method. The basic idea behind the method, is to randomly place data points inside a circle with radius = 1 which is placed in a square (length = 1).

Now, we can compare the amount of data points within th circle and without.

With r = 1 we get
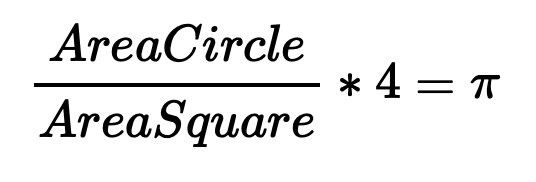
Now the process is pretty straight forward. We approximate area with data points. Accordingly, by estimating more data points we get a more accurate estimation of π because the are of the circle is greater then the are of the square. Due this fact, the computation time increases by increasing the amount of data points.
The R Skript
The first part of our R script contains the library section, creates
two list objects, numCores and the k object. numCores defines the
number of core we want to our sc ript with, while k defines the number
of data points for our π estimation. Finally, we create a core cluster
with the parallel package.
# Load libs
library(foreach)
library(parallel)
library(doParallel)
library(pracma)

data <- list()
time <- list()

#numCores <- detectCores()
numCores <- 2
k <-  10000

# Create cluster
print(paste0("The following number cores has been detected: ", numCores))
cl <- makeCluster(numCores)
registerDoParallel(cl)
Afterwards, the script runs 100 times in a loop to get a significant amount of results. The actual estimation of π happens in the second, parallized loop. The script returns the time of each estimation and the last result of π.
for(j in 1:100) {
  # Use Monte Carlo to estimate pi
  start <- Sys.time()
  results <- foreach(i=1:k) %dopar% {
    x=runif(k)
    y=runif(k)
    z=sqrt(x^2+y^2)
    pi <- length(which(z<=1))*4/length(z)
  }
  end <- Sys.time()
  diff <- end-start

  data[j] <- results[k]
  time[j] <- diff
}

df <- data.frame(unlist(data),unlist(time))
colnames(df) <- c("pi","runtime")
print(df)
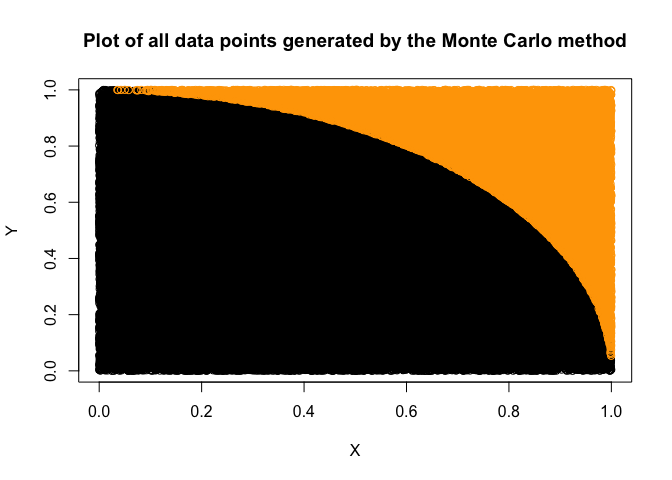
A plot of our data points looks like this.
The Docker Image
Now we need to Dockerize our R script. In doing so, it runs indepently
everywhere. To speed things up, we use two R scripts. One for
installing all necessary libs (installDependencies.R). This script
will only run during the docker build step what will be shown later
on.
# install libs
install.packages(c("foreach", "doParallel", "iterators",
                "pracma"), repos = "https://cloud.r-project.org")
The second script (pi.R) will execute our estimation.
To create a Dockerfile we can use touch Dockerfile. With this file,
we first need to install R, by using the FROM statement. Next, we
will create a path to add our two scripts by using the ADD statement.
Then, we want to execute the installDependencies.R by using the RUN
command. To define a working directory, we use WORKDIR. This directory
can also be used to mount volumes like your lokal drive or external
storages like Amazon
S3. The
CMD will executed our pi.R script. As you can see, Docker is
actually basic bash coding.
FROM r-base
ADD pi.R /usr/local/src/myscripts/
ADD installDependencies.R /usr/local/src/myscripts/
RUN Rscript /usr/local/src/myscripts/installDependencies.R
WORKDIR /usr/local/src/myscripts/
CMD ["Rscript", "pi.R"]
Building the Docker Image
To create a Docker Image from your Dockerfile, you need to run:
docker build -t estimate-pi . # -t = tag for our Docker Image, . = local folder with all files
If you want to run the Docker Container locally, use:
docker run estimate-pi
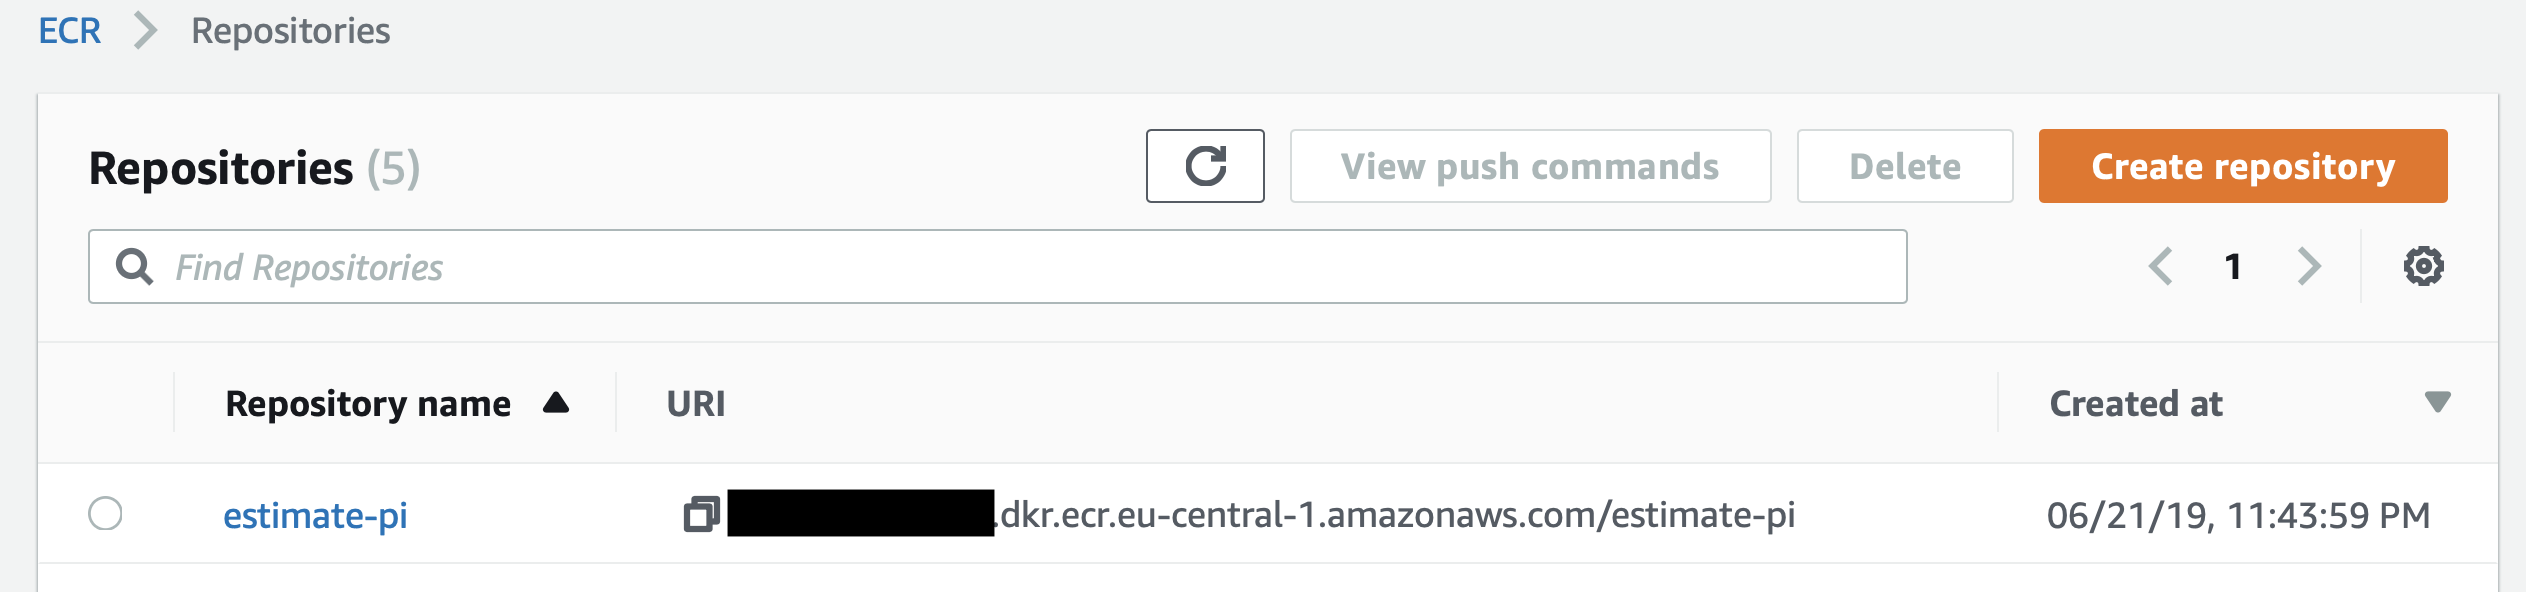
Pushing the Docker Image
We can now use the AWS CLI to push the Docker to AWS Elastic Container Registry (ECR):
aws ecr create-repository --repository-name estimate-pi  --region eu-central-1 # Change name and region accordingly, memorize the URI path
aws ecr get-login --no-include-email --region eu-central-1  # Type the output into your console, to get a temporary login
docker tag estimate-pi-aws XXX.dkr.ecr.eu-central-1.amazonaws.com/estimate-pi # XXX = your account-id
docker push XXX.dkr.ecr.eu-central-1.amazonaws.com/estimate-pi
Now, our Docker Image is pushed to AWS.
Configuring AWS Batch
The following steps show how to use AWS Batch.
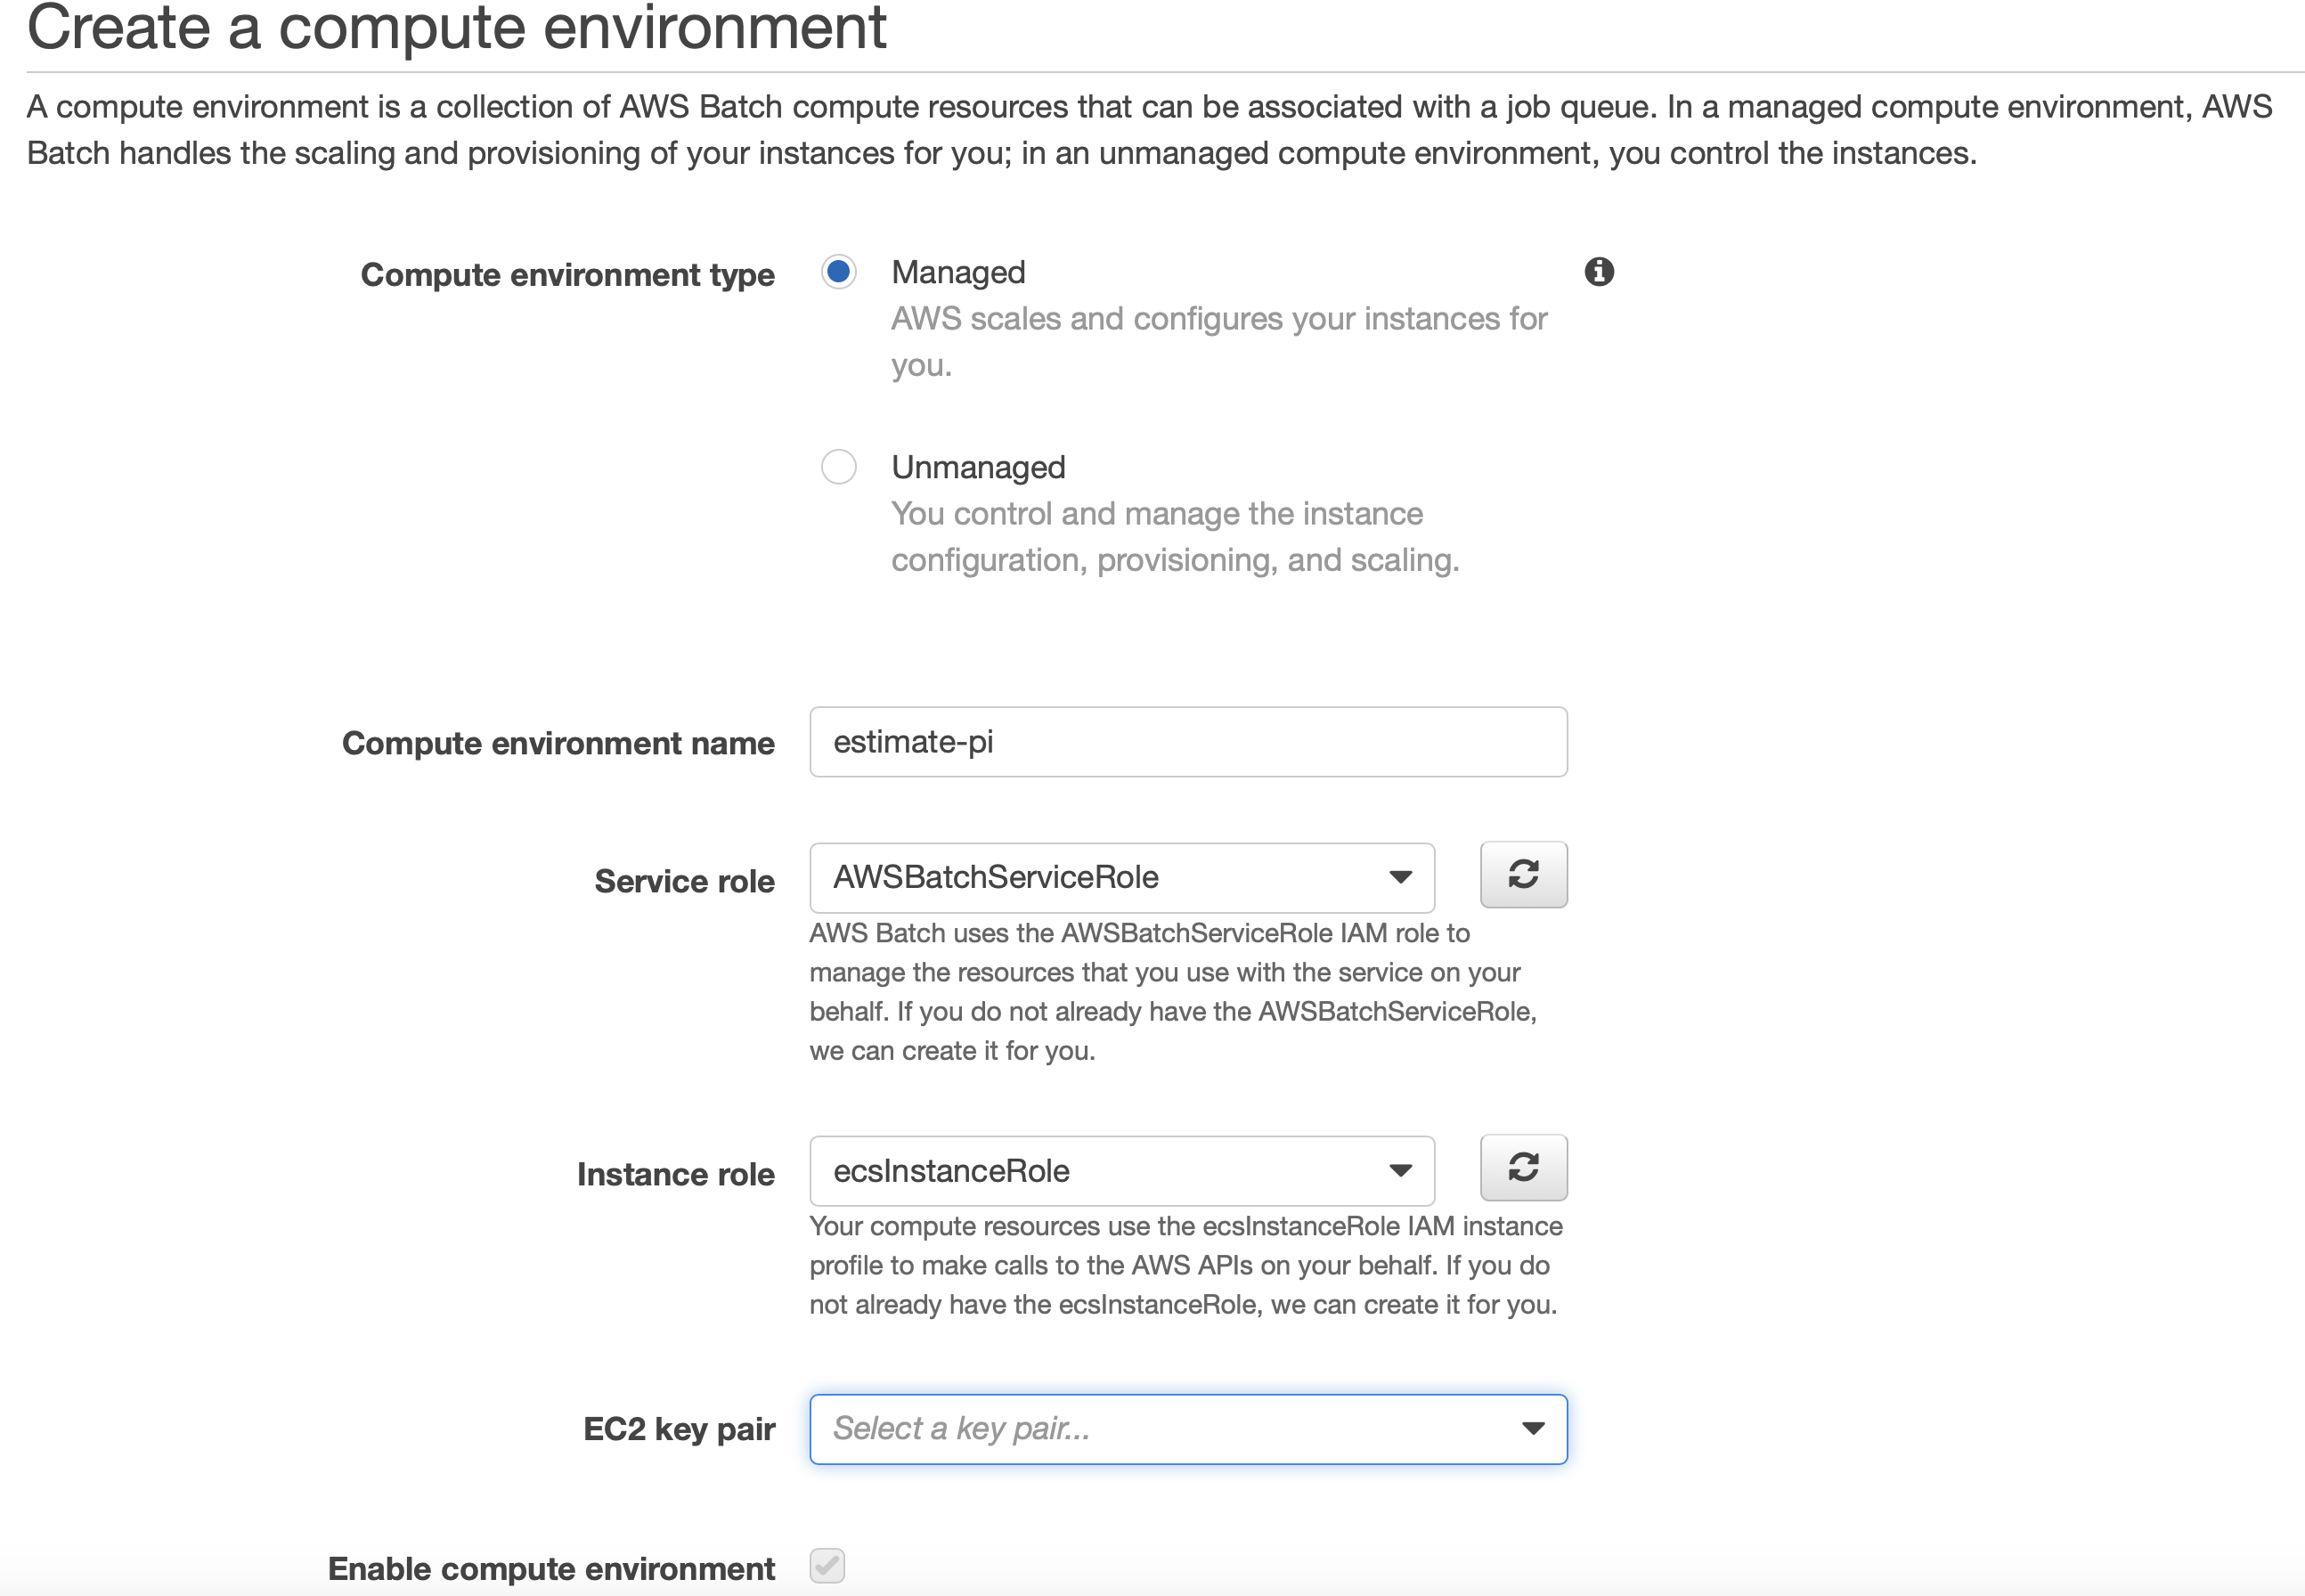
Configuring the AWS Batch Compute Environment
First, you need to create a Compute Environment. In this case, we call it estimate-pi.
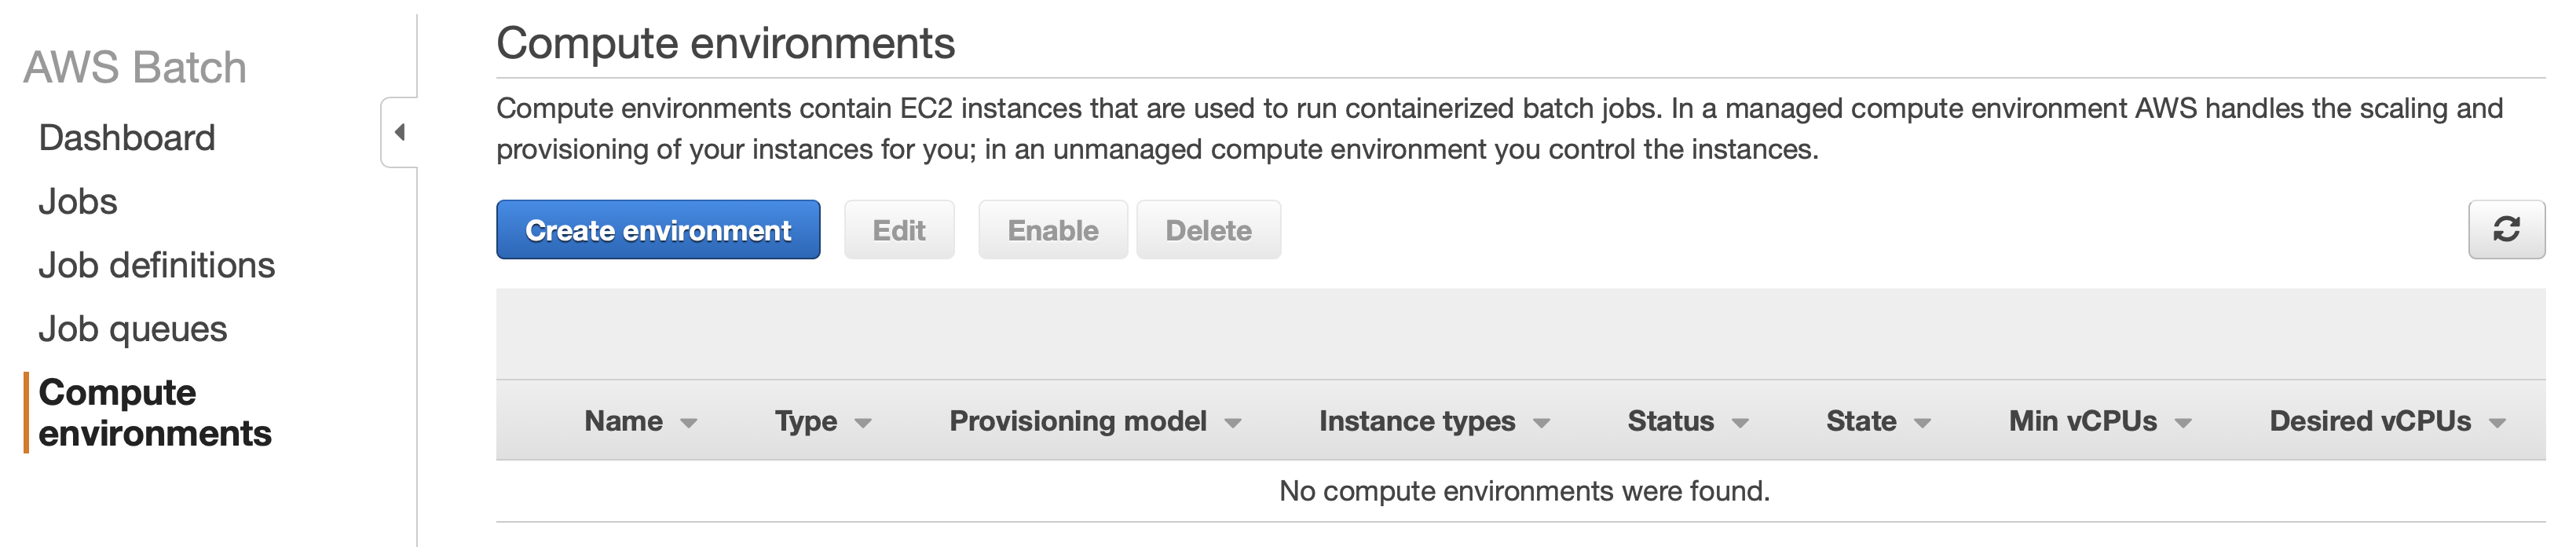
This environment consists out of EC2 instances which will appear within the EC2 service. Within the creation process you to need to create an IAM role for AWS Batch and one for your EC2 instances:
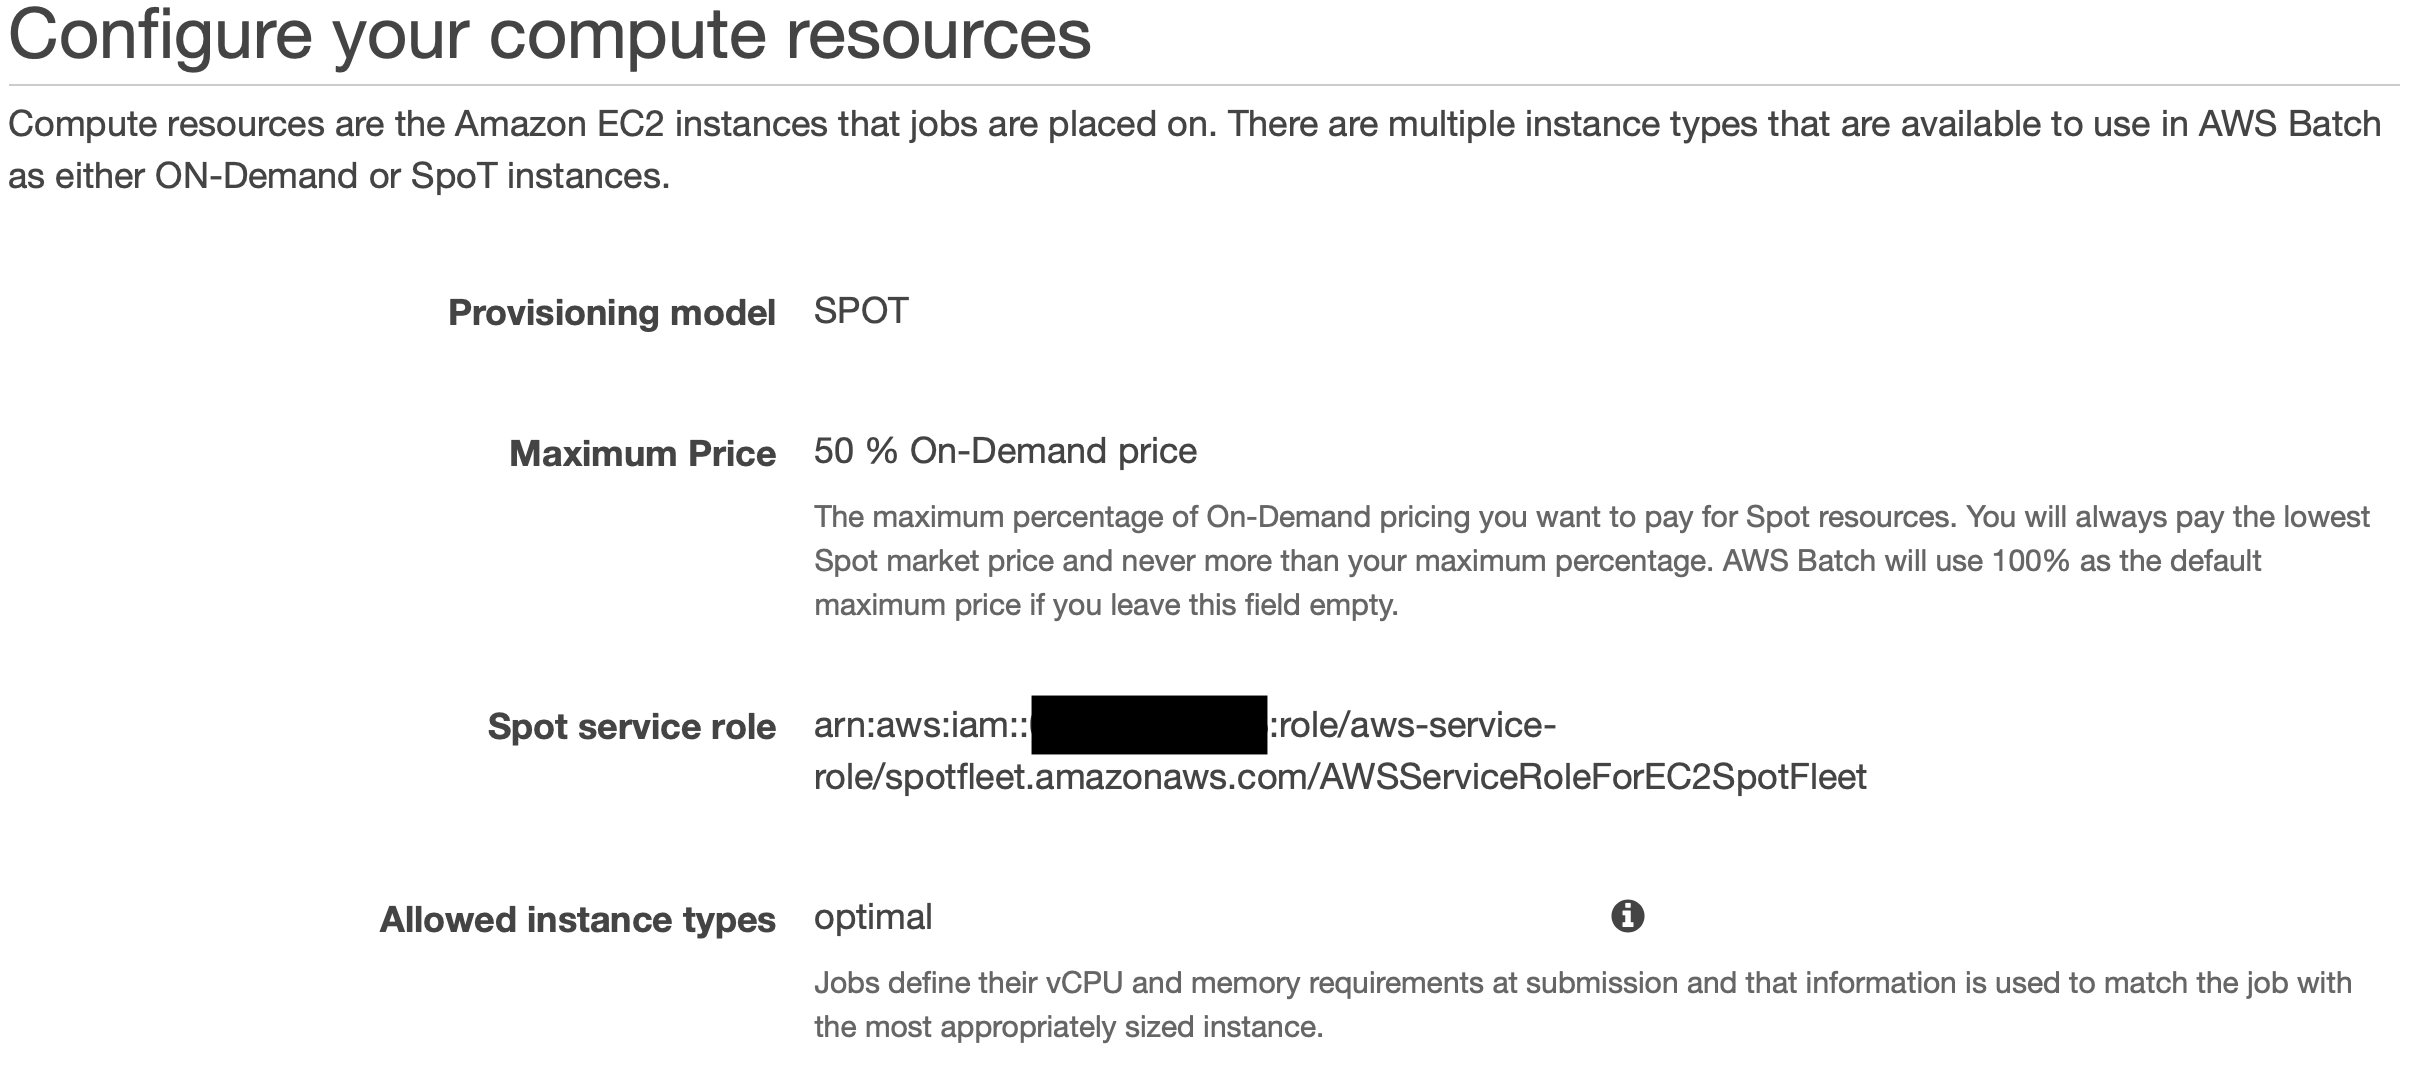
Here after, you need to set upt the amount of CPU capacity for this environment. In a first step, you can choose the On-Demand or Spot price options for your EC2s and the way of selecting those instances. By default, AWS Batch chooses the EC2 instance type for you.
For our evironment we choose 1 as minimium, 8 as desired and 16 as maximum capacity.
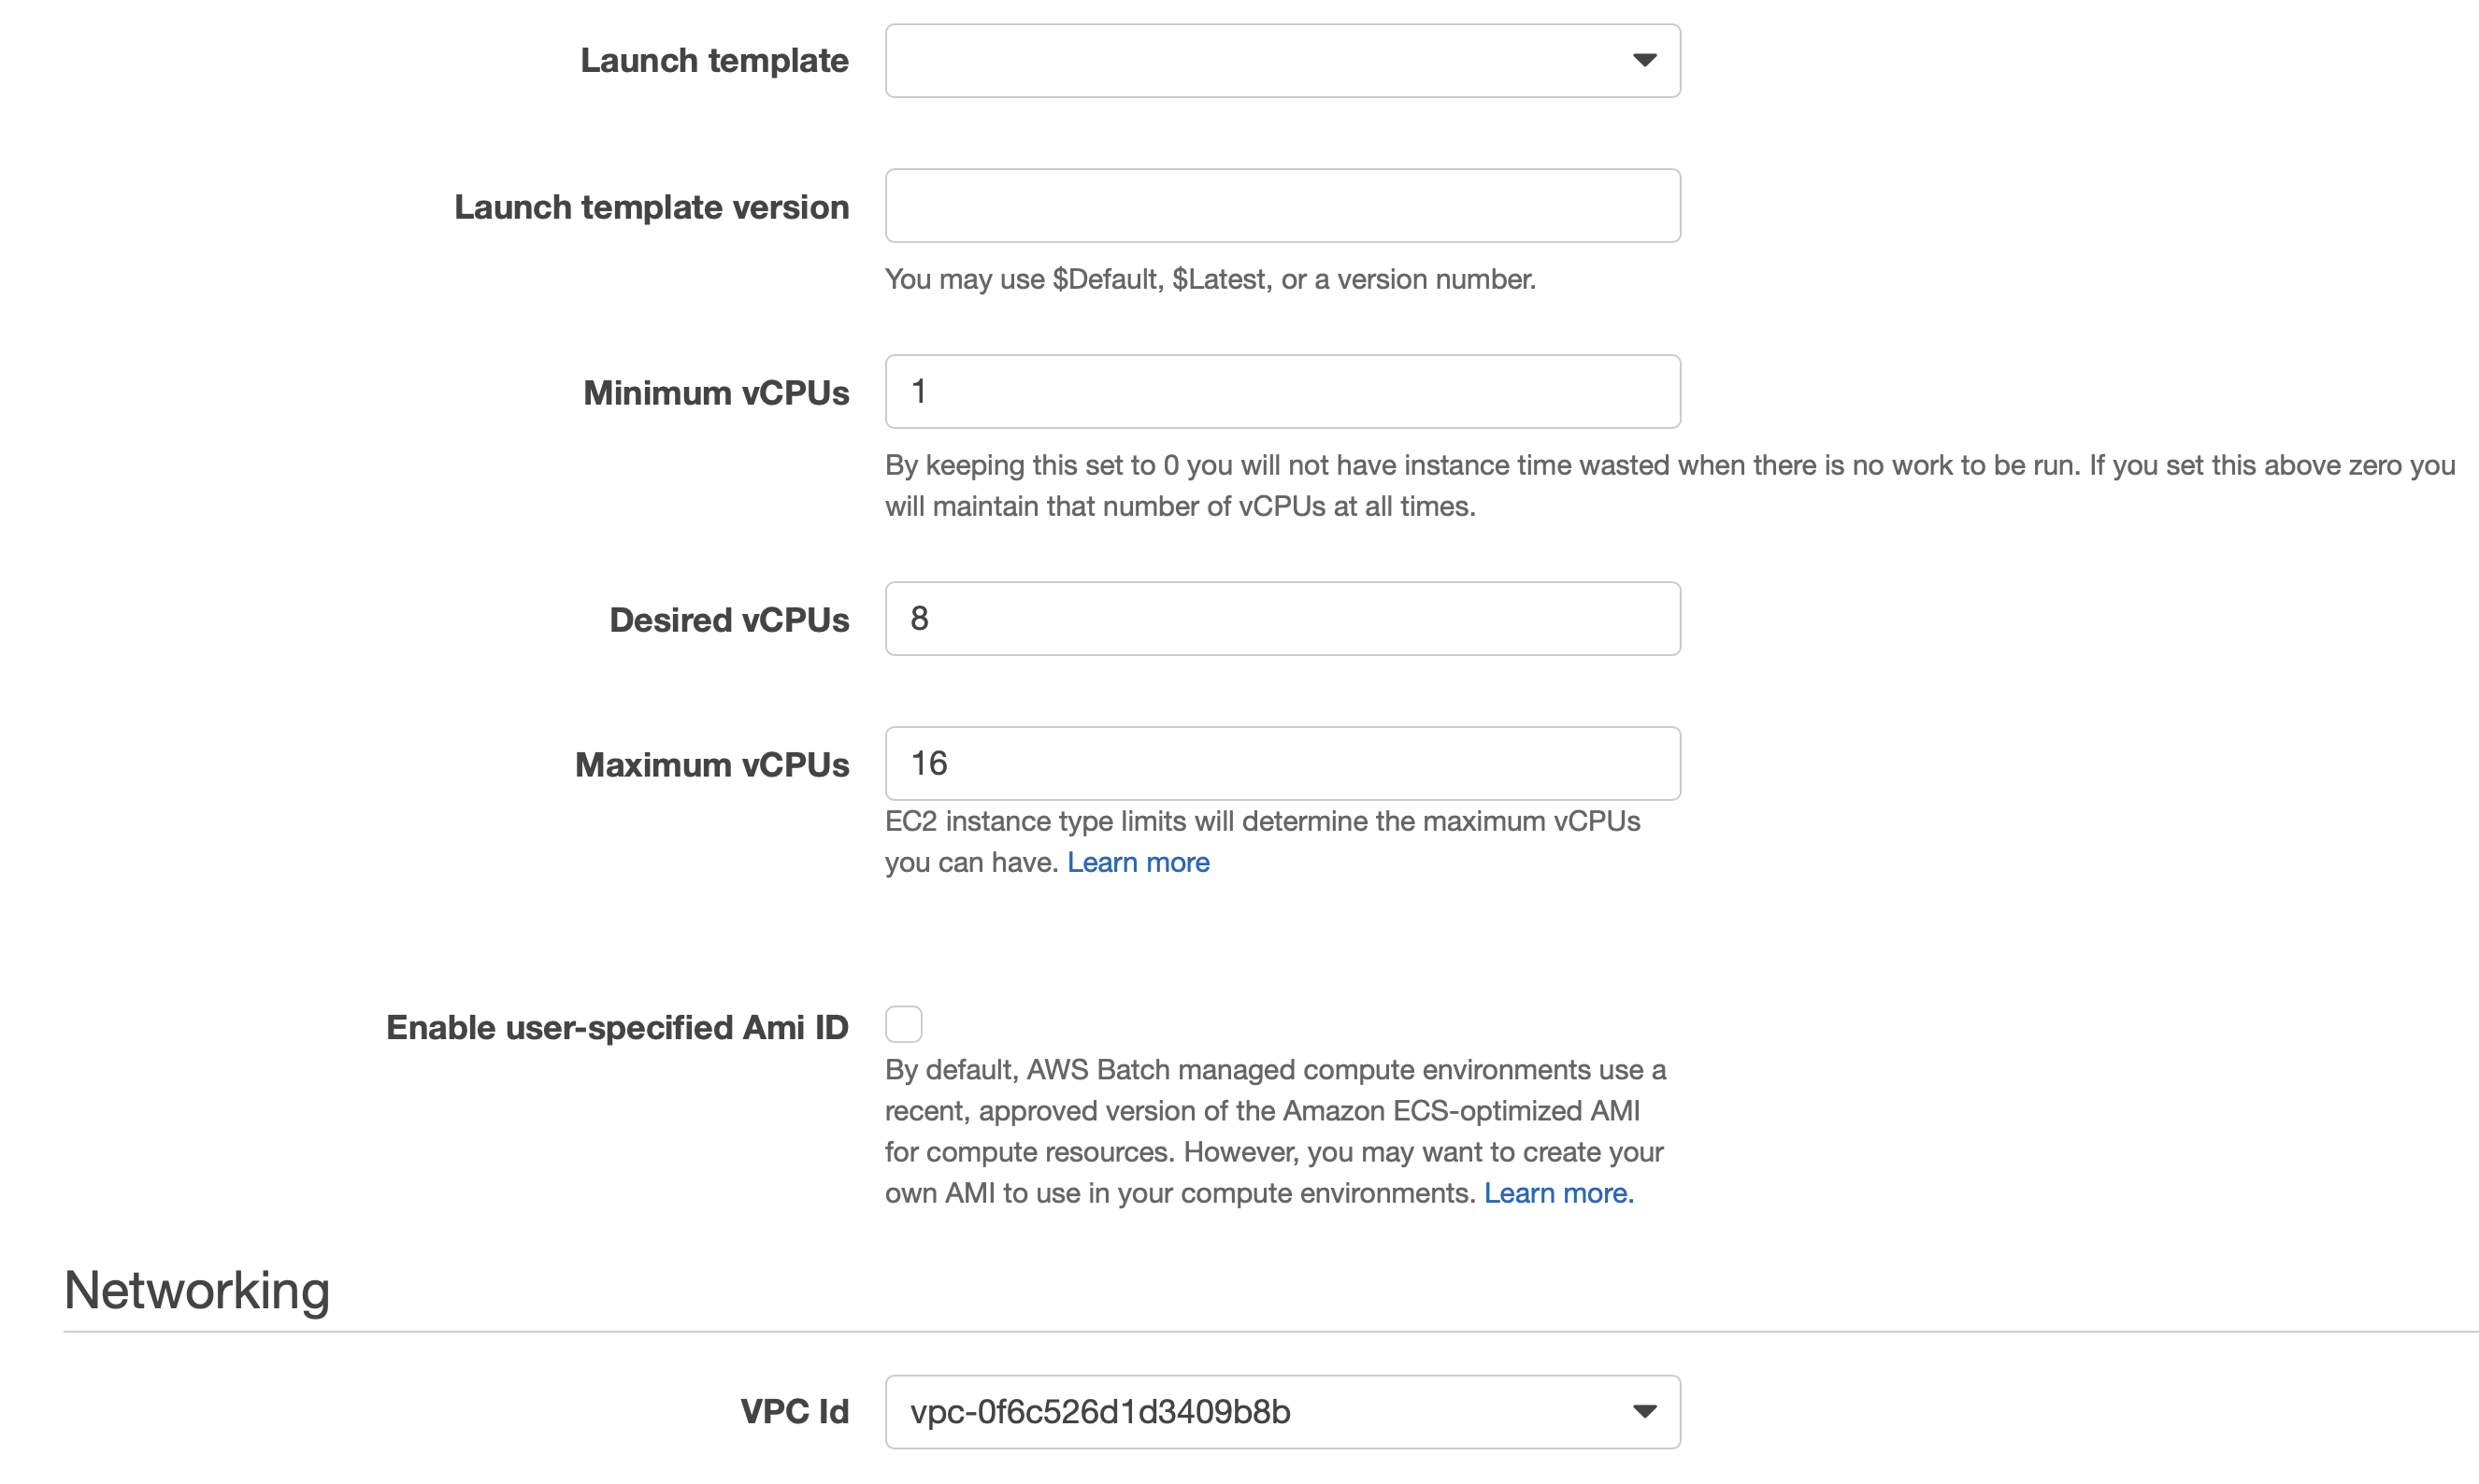
Lastly, we need to choose a VPC to start those instances.
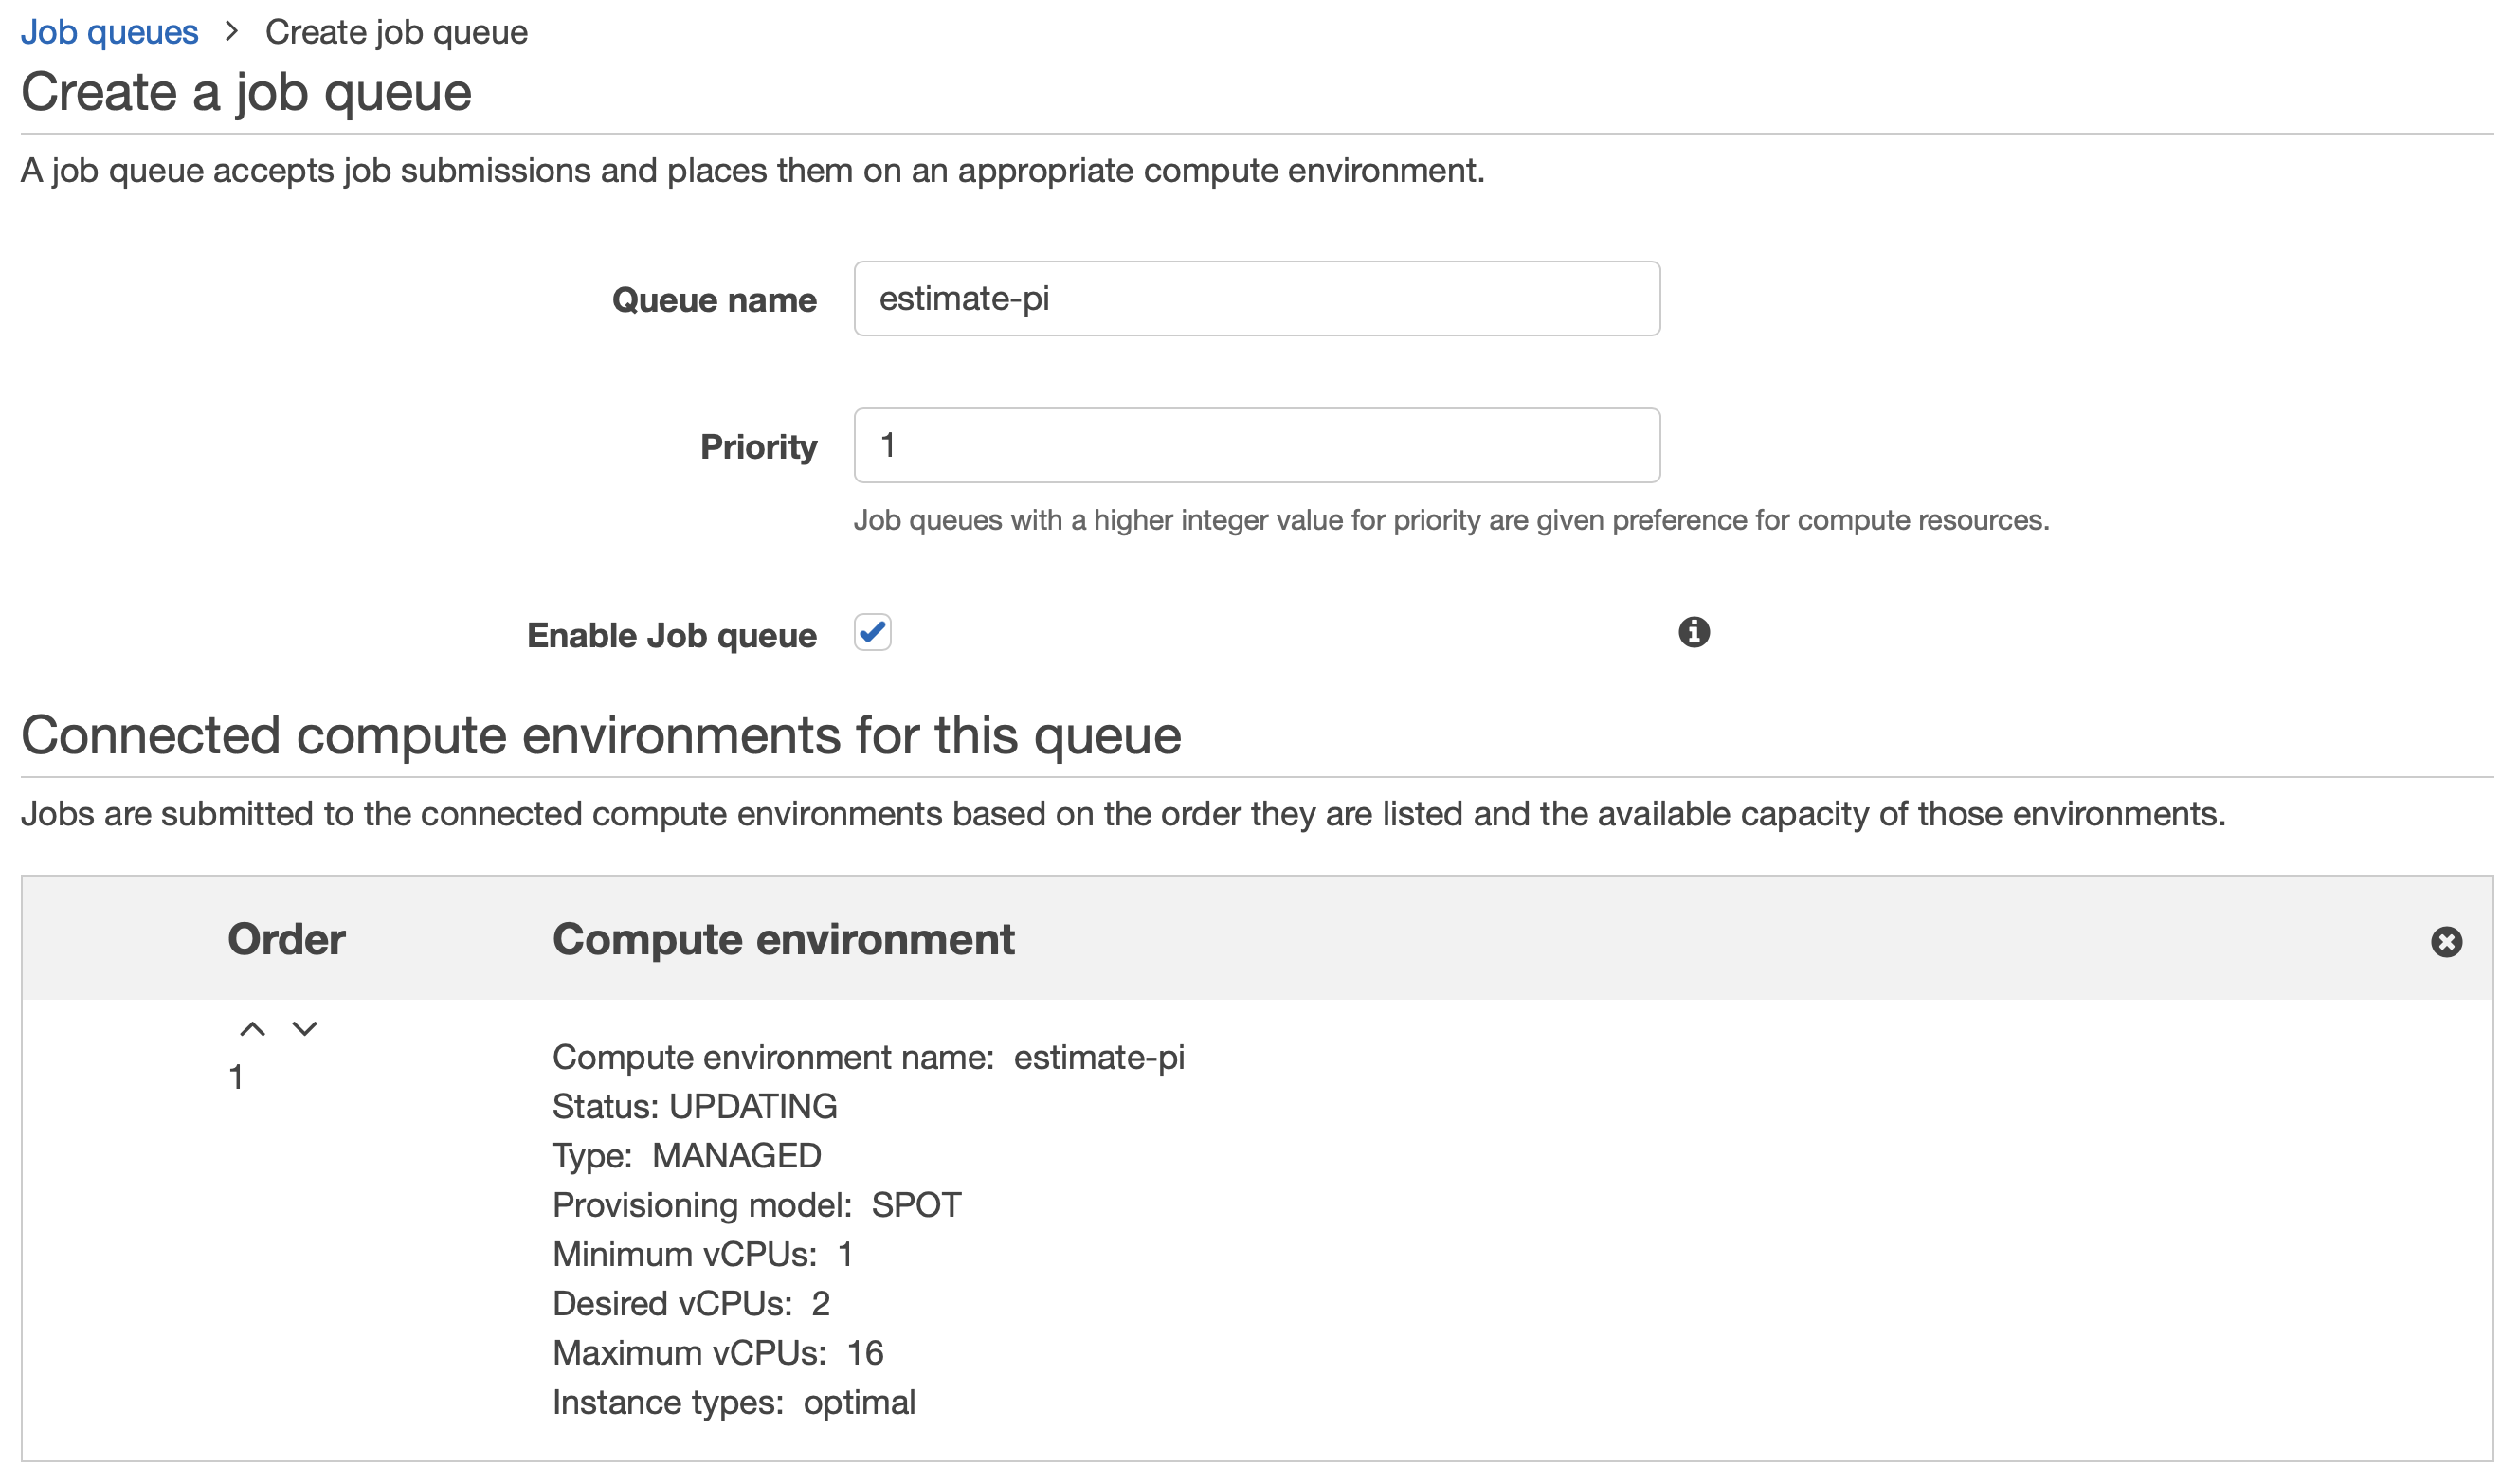
Confirguring the AWS Batch Job Queue
Now, we need to create an to connect a Job Queue with the Compute Environment.
Submitting a Job to our environment
The last step, is about submiting the Job to AWS Batch.
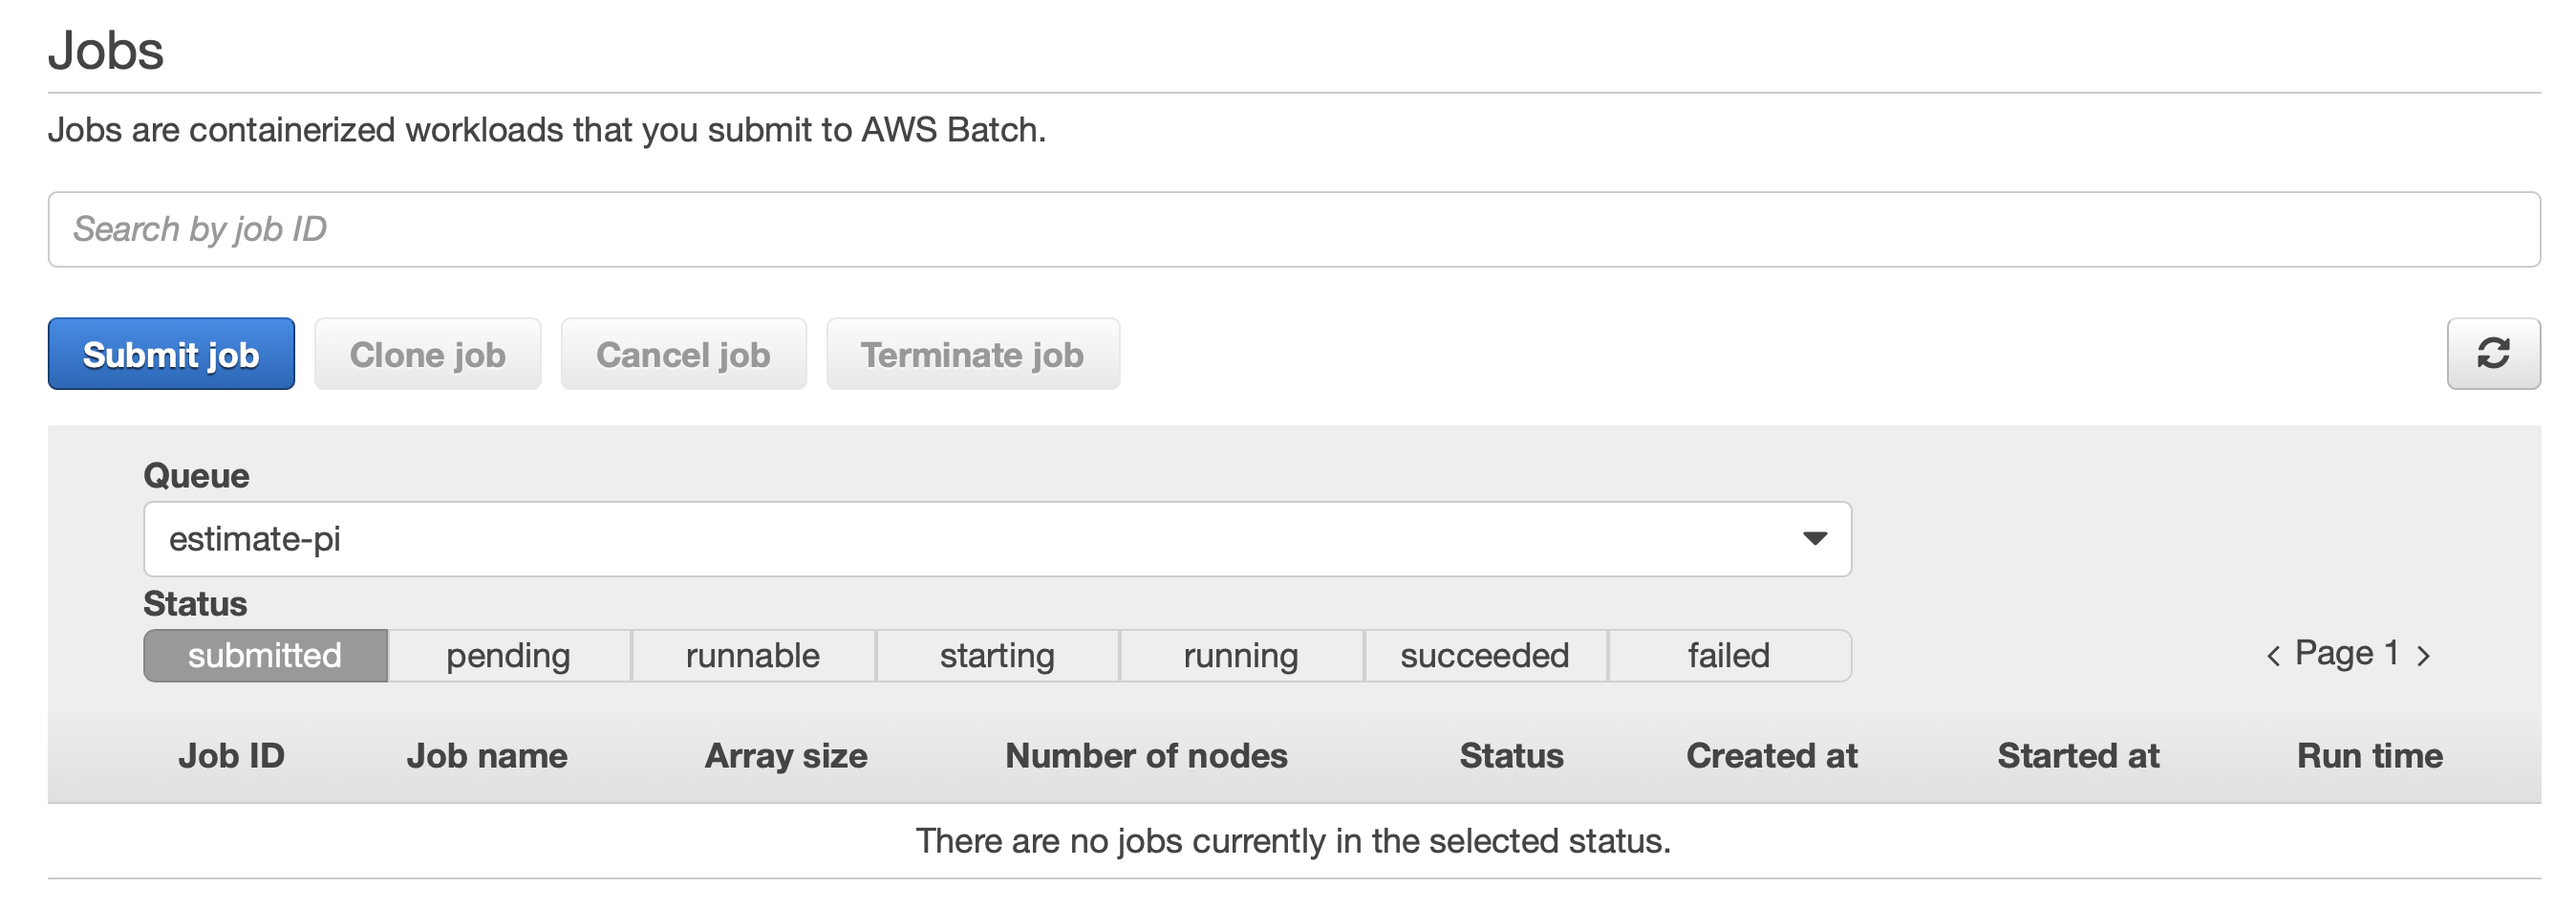
You need to specify a Jobname and a priority.
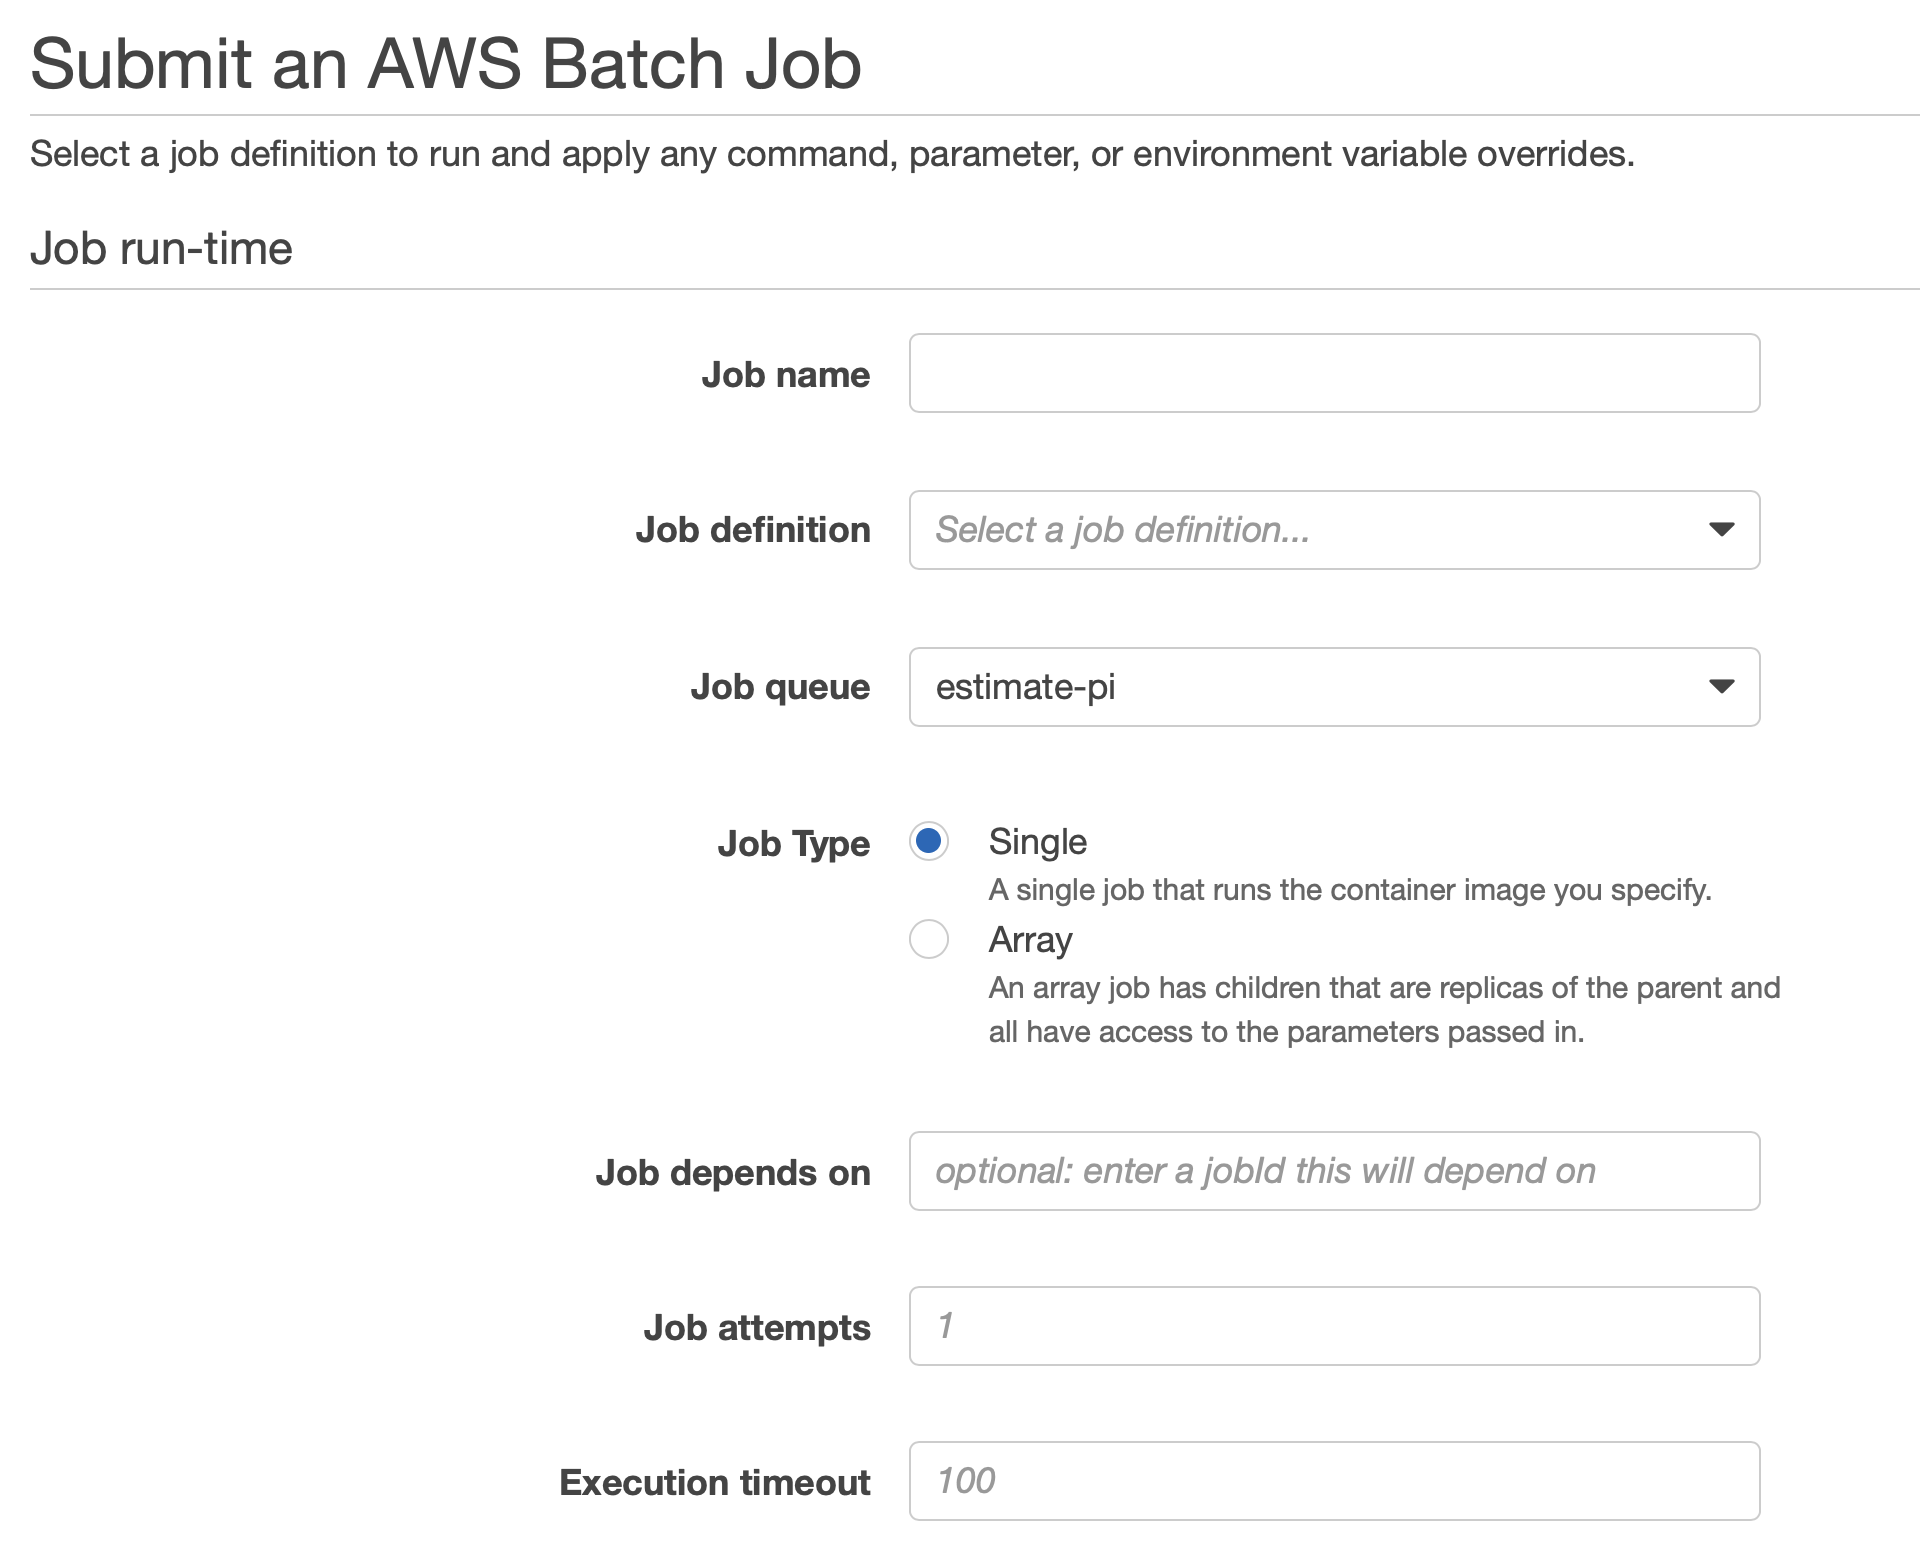
Finally, you can specifiy the amount of in-memory space and the amount of vCPUs.
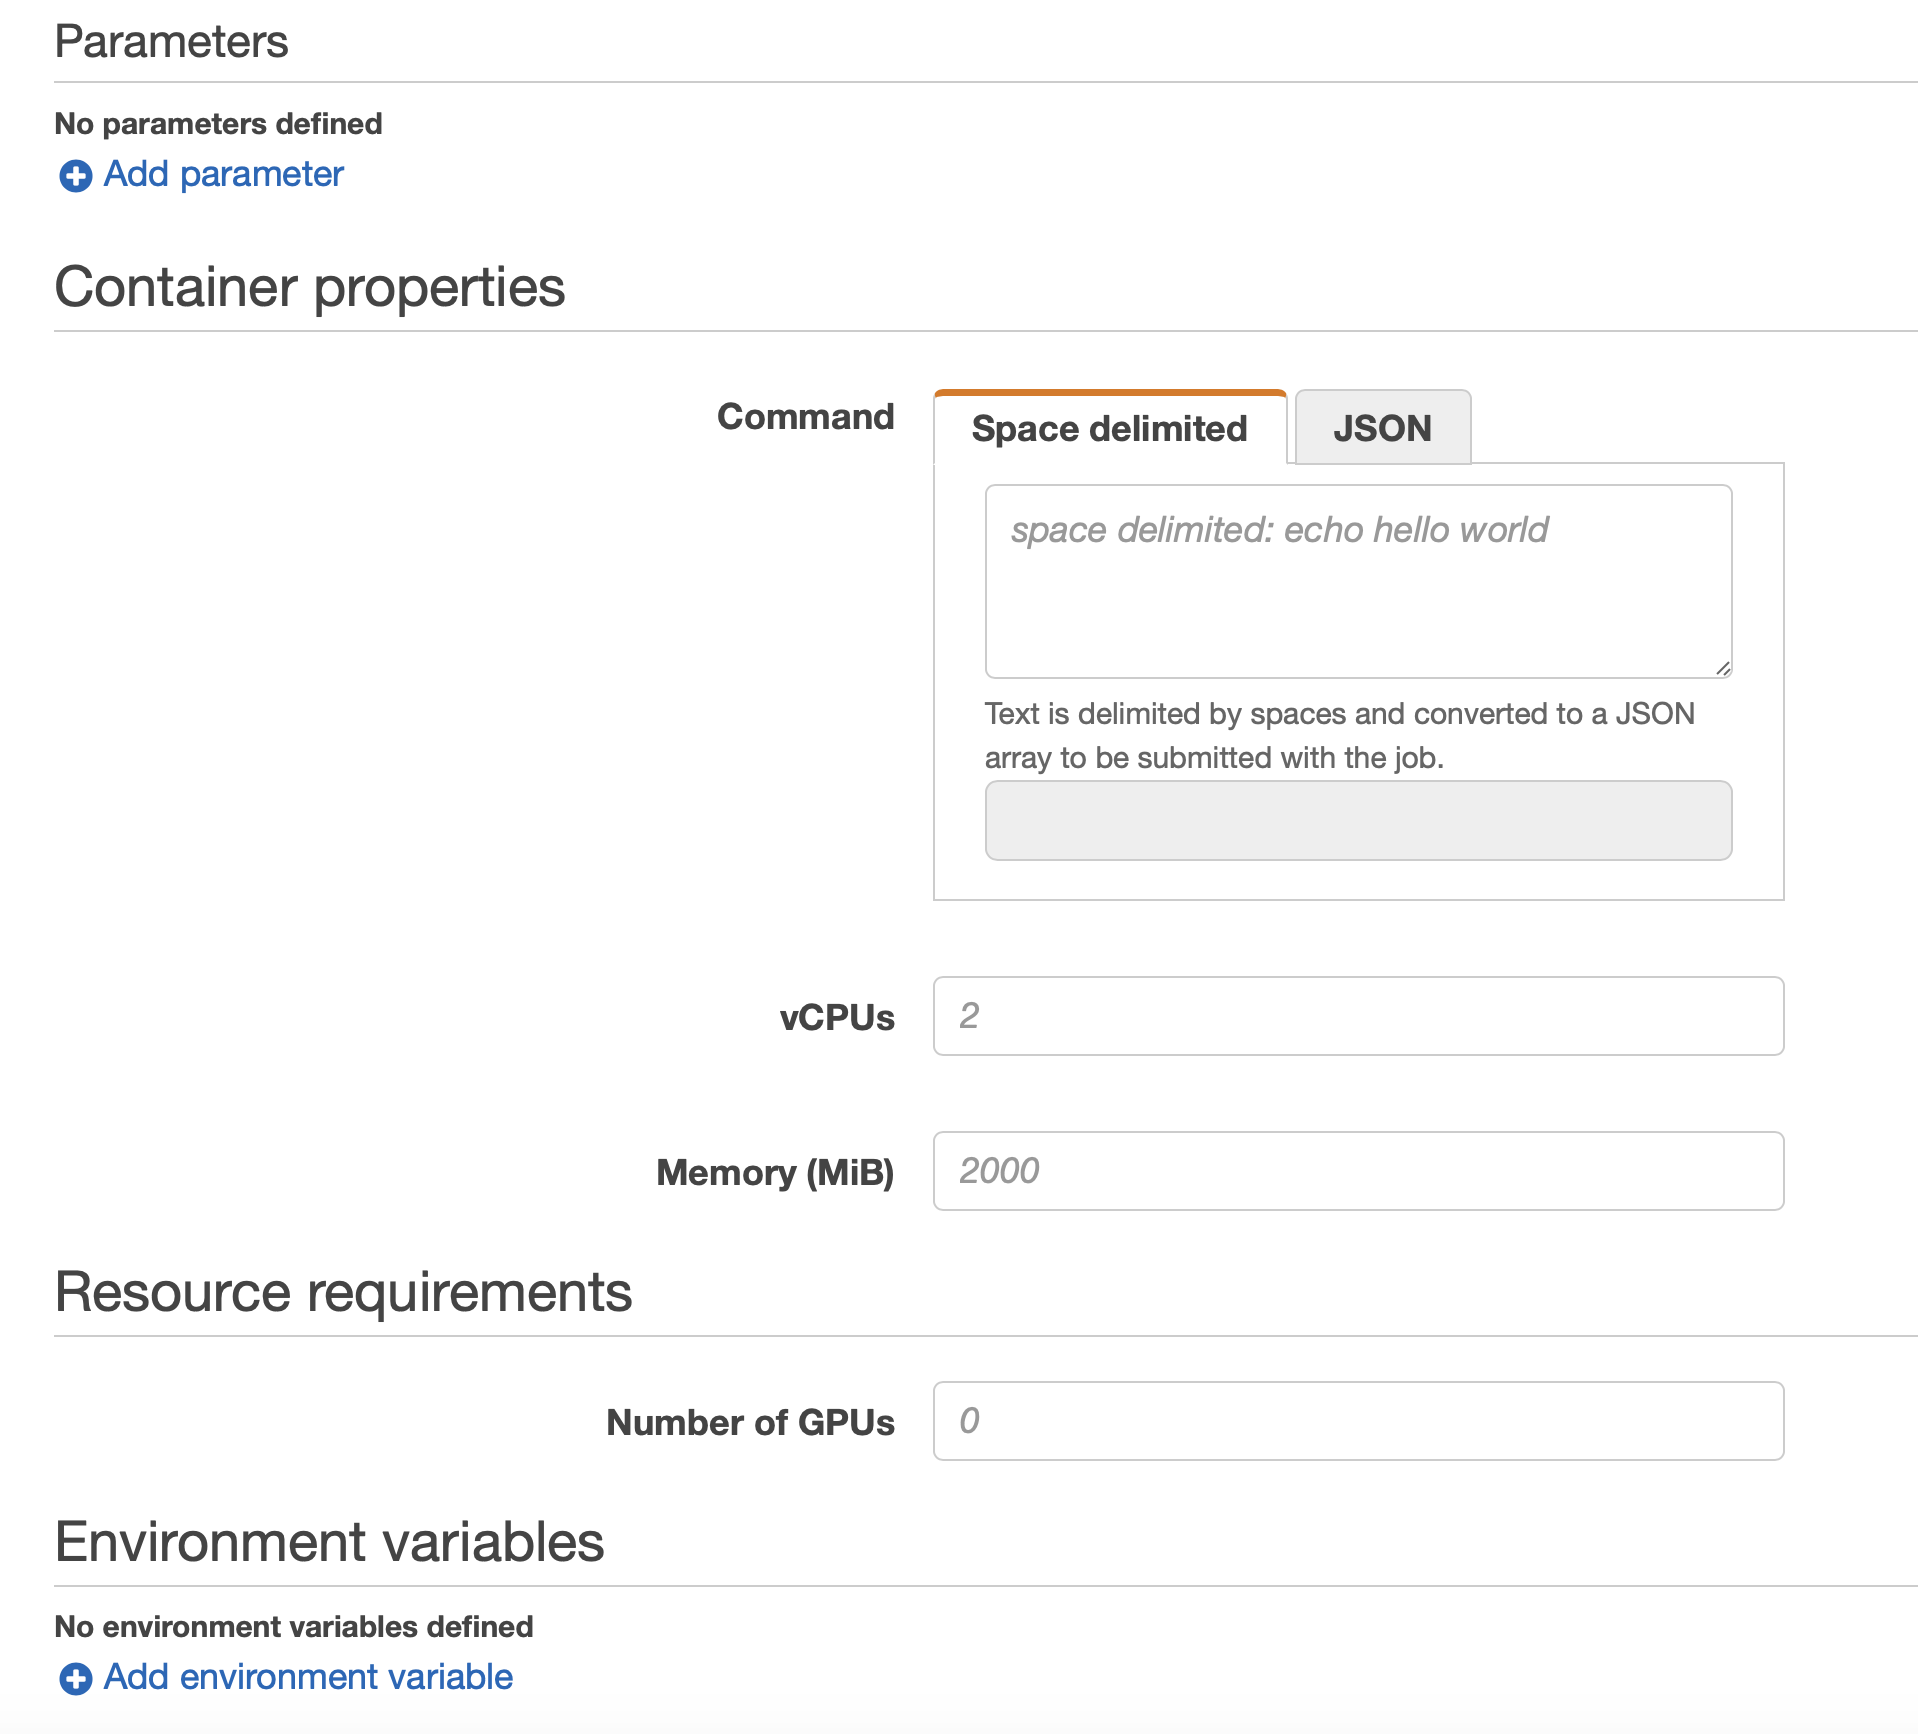
By hitting Submit Job, your job will be executed.
Benchmarking for our Usecase
To estimate π I choosed k = 10k which means, that 10k random data points between 0 and 1 for both axes, x and y, are generated. To get a statistical relevant amount of results, I run the R script above 100 times. Two test runs happend ob my local workstation (a Macbook from 2017) and two runs started on AWS Batch. Unfortunately, I could not choose complete identical processors (Intel Core i7 and a Intel Xeon E5-2666 v3). But at least, both had maximum frequenz of 2.9 GHz.
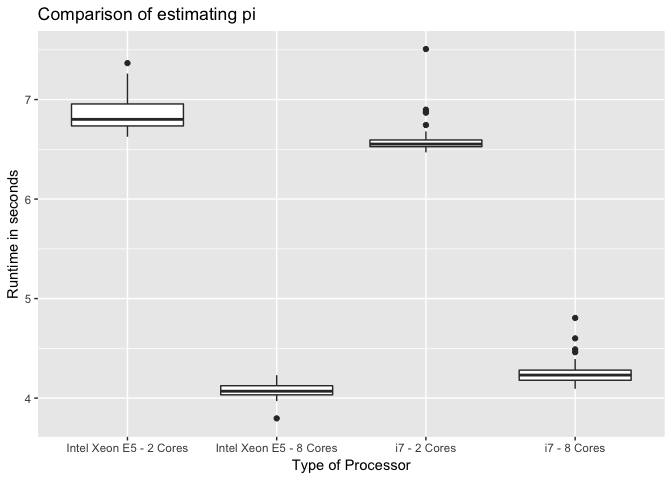
All in all the follwing plot shows, that more cores lead to shorter runtime, which is quite reasonable. But, the mean runtime of the 2-Core run on my MacBook runs significantly shorter than on AWS ( t(185.71) = 13.9, p = .000). Obviously, we created an administrative overhead in the 2-core job on AWS, which leads to a longer runtime. Running the 8-core job AWS strikes my local workstation clearly t(164.45) = -13.83, p = .000).
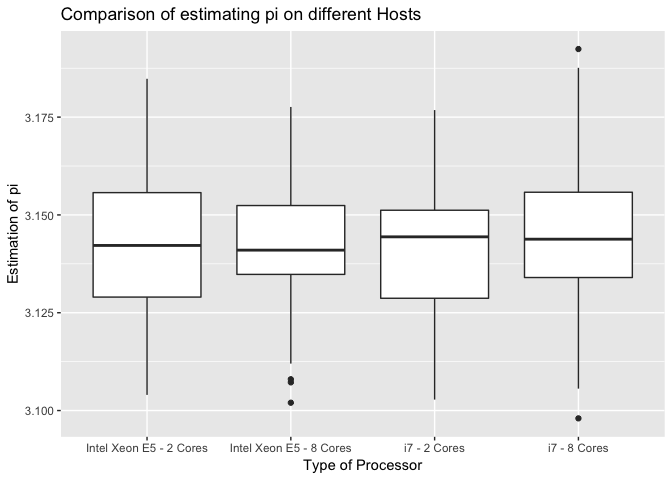
Unsurprisingly, the estimation of π with 10k data points does not significantly differ between all settings (2-cores: t(197.19) = 0.63, p = ns; 8-cores: t(196.65) = -1.36, p = ns).
Summary
This blog post described the usage of a dockerized workload for
estimating π. If you want to decrease the runtime of your parallized
workloads, you should consider more cores. AWS Batch makes it easy to
use more cores for your dockerized workloads. Additionally, you can
terminate all resources on AWS when finishing your job. Pay as you go!
Our estimations for π are accurated with regard to two digits (3.14).
If you want to increase the accuracy, you just need to increase the k
in our pi.R script. Finally, by using AWS Batch you will avoid
annoying CPU fan noises and you will offload your your local
workstation. So, my customer was very happy that day. Cheers!
Photo by Alexandru-Bogdan Ghita on Unsplash